To quickly set up a development environment for RabbitMQ, it's recommended to use Docker. Since RabbitMQ is developed using Erlang, the conventional installation process involves installing Erlang first and then RabbitMQ, which can be quite cumbersome. Using Docker simplifies this process with just a single command.
Recommendation: It's advisable to use Docker for deploying the development environment. It's simple, convenient for maintaining multiple environments, and there's no need to spend too much time on environment setup. Installing Docker on MacOS and Linux is straightforward and can be found online. While Windows 10 also supports Docker installation, it's better to install a Linux virtual machine for backend testing as the Windows system is not very convenient for that purpose.
Deployment using Docker
Initial installation command
docker run -d --name rabbitmq -p 5672:5672 -p 15672:15672 rabbitmq:3-management
Explanation: The above command downloads and starts a RabbitMQ container instance, opening two ports, 5672 and 15672. Port 15672 is the management console port, while 5672 is the port we need to access when writing code.
Regarding the RabbitMQ Docker image version, the example uses the 3-management version. The latest version can be found on the Docker official image repository here.
Managing the RabbitMQ container
To stop the RabbitMQ container:
docker stop rabbitmq
To start the RabbitMQ container again:
docker start rabbitmq
Note: The Docker container only needs to be installed once, and thereafter can be started and stopped using the start/stop commands.
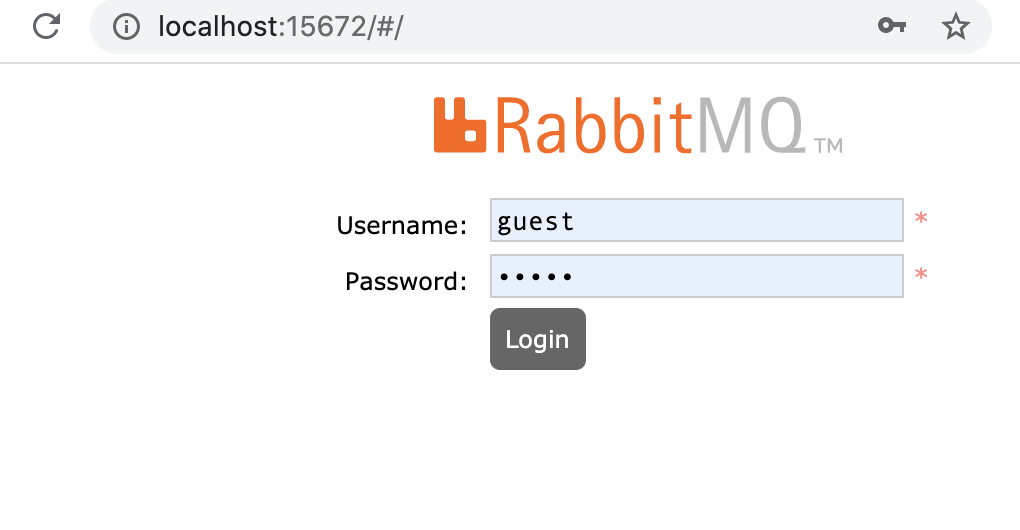
RabbitMQ Management Console
Access the RabbitMQ management console at: http://localhost:15672/ Default username and password: guest / guest
Tip: If using a virtual machine, replace 'localhost' with the virtual machine's IP address.
Screenshot: