This chapter introduces the quick start of Qdrant vector database and how to operate the vector database based on RESTful API.
Installing Qdrant
Note: This tutorial is based on installing Qdrant database using Docker. Please install Docker before proceeding.
Download the qdrant image
docker pull qdrant/qdrant
Start the qdrant vector database service
docker run -p 6333:6333 \
    -v $(pwd)/qdrant_storage:/qdrant/storage:z \
    qdrant/qdrant
By default, we map the local file directory to the container, and all data is stored in the ./qdrant_storage directory.
You can now access Qdrant via localhost:6333.
Qdrant vector database supports RESTful API for database operations, as well as SDKs for programming languages such as Python, Go, etc. This tutorial mainly focuses on explaining the use of RESTful API.
Example of accessing the API
curl -X PUT 'http://localhost:6333/collections/test_collection' \
  -H 'Content-Type: application/json' \
  --data-raw '{
    "vectors": {
      "size": 4,
      "distance": "Dot"
    }
  }'
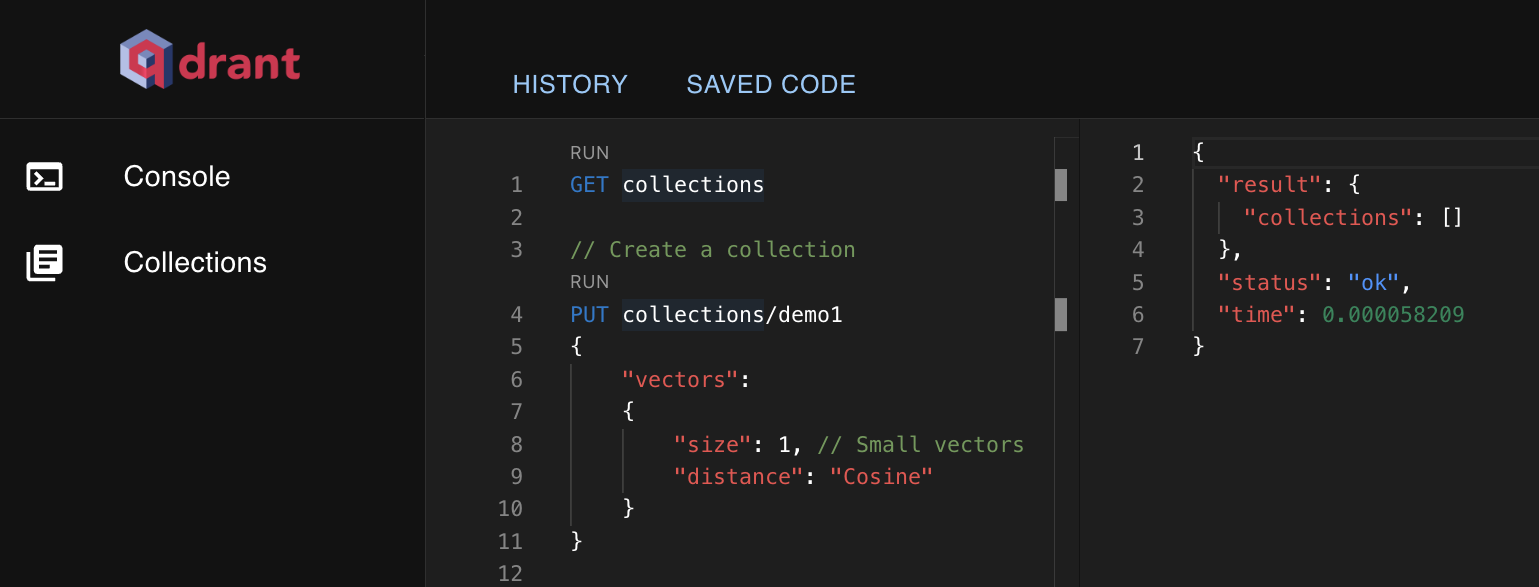
Qdrant Web UI
Access the web UI through the address http://localhost:6333/dashboard

Creating Collections
The concept of collections in Qdrant vector database can be compared to the table structure of MYSQL, used to uniformly store the same type of vector data. Each data stored in the collection, referred to as points in Qdrant, has a similar meaning to the points in the mathematical geometric space, representing the representation of the vector in the geometric space (just treat it as a piece of data).
PUT /collections/{collection_name}

{
    "vectors": {
      "size": 300,
      "distance": "Cosine"
    }
}
Parameter Explanation:
| Parameter | Description |
|---|---|
| collection_name | Collection name (required) |
| vectors | Vector parameter definition (required) |
| vectors.size | Represents the vector size (or dimension of the vector) |
| vectors.distance | Represents the vector similarity algorithm, mainly including three algorithms: "Cosine," "Euclid," "Dot" |
Adding Vectors (Points)
After creating a collection, we can add vector data to the collection. In Qdrant, vector data is represented using points, where each point data includes three parts: id, payload (associated data), and vector data.
Example
PUT /collections/{collection_name}/points

{
    "points": [
        {
            "id": "5c56c793-69f3-4fbf-87e6-c4bf54c28c26", // id
            "payload": {"color": "red"}, // Associated attribute data, usually related business attributes, such as: order ID, product ID, title, etc.
            "vector": [0.9, 0.1, 0.1] // Vector data representing the features of the current business data
        }
    ]
}
Vector Search
After adding vector data, we can perform semantic similarity search using vectors.
Example
// collection_name - collection name
POST /collections/{collection_name}/points/search

{
    "vector": [0.2, 0.1, 0.9, 0.7], // vector parameter
    "limit": 3 // Return the top 3 data with the highest similarity
}
Parameter Description:
- vector: Vector parameter used to search for content similar to this vector. For example: You can convert the keywords that users need to search into vectors and then search for content related to the user input.
Attribute Filtering
When searching for data, in addition to performing similarity searches using vectors, sometimes we also want to execute attribute filtering similar to SQL's WHERE clause to filter some attributes. Qdrant supports filter queries for filtering point payload-associated attributes.
Example
// collection_name - collection name
POST /collections/{collection_name}/points/search

{
    "filter": { // This is mainly used to filter the associated attributes of the payload, and the overall syntax format is similar to Elasticsearch syntax. This parameter is optional.
        "must": [ // Filter point data with color=red
            {
                "key": "color",
                "match": {
                    "value": "red"
                }
            }
        ]
    },
    "vector": [0.2, 0.1, 0.9, 0.7], // Vector parameter
    "limit": 3
}
For more detailed tutorials, please refer to the following chapters.